
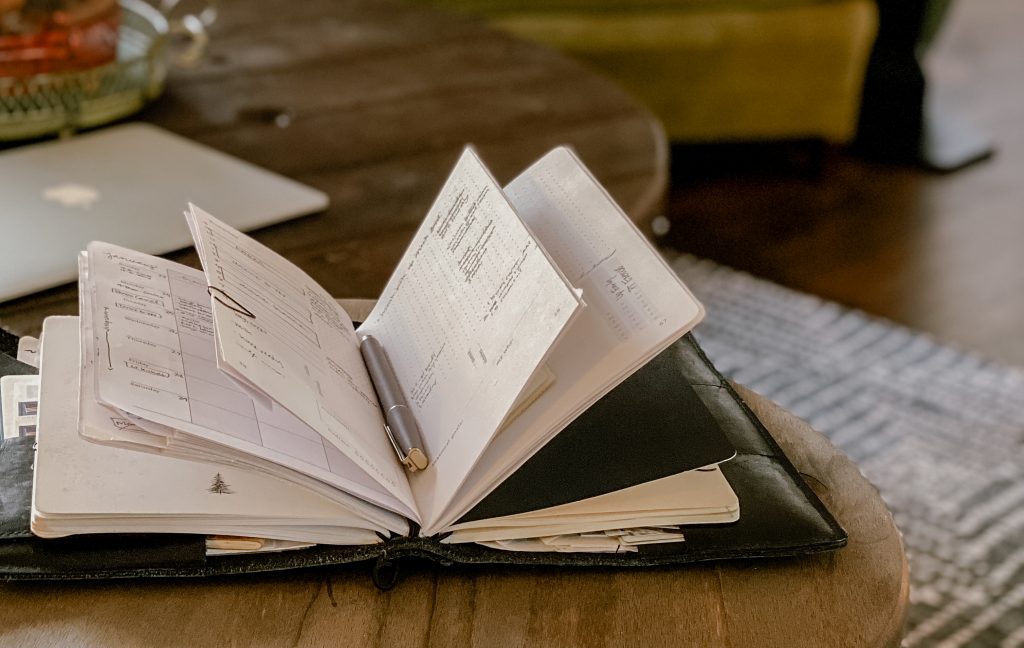
We’ve always admired the way the bullet journaling community lives in the junction of practical and stunning. A simple Pinterest search will show you the many ways habit trackers can turn into full blown works of art, and how monthly spreads can become masterpieces. Don’t let these searches overwhelm you: you don’t actually have to sink your life’s savings into art supplies. In fact, when we first began forming layouts, we copied what we saw others doing and used the scrap paper and supplies we already owned.
The key to making your planner lovely is to keep it fun and to keep it YOU. Below are seven tips that will help you do just this.
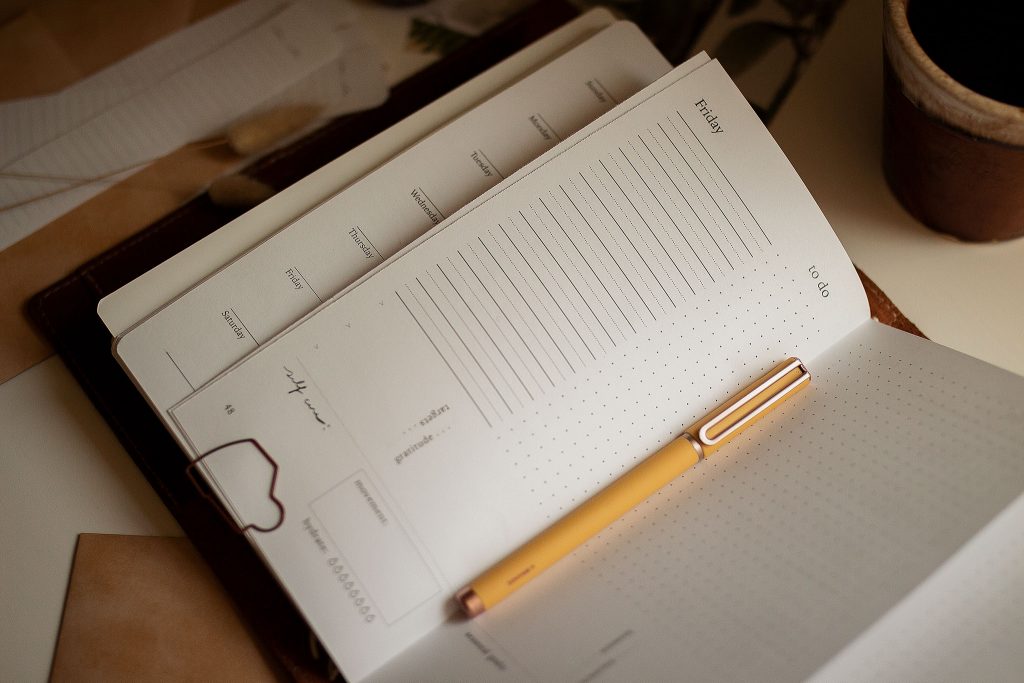
1. Embrace YOUR handwriting.
Don’t waste time hating something that is a part of who you are. If you need to, slow down and focus a tad more to increase tidiness and readability. Paying attention to spacing and line height (our bullet grid can help with this!), or giving a little extra thought to particular letterforms can go a long way.

2. Two words: WASHI TAPE
The uses for this magical art supply are truly endless. Edge your daily or weekly spreads to quickly add a splash of decoration. Divide notes on your bullet flex space, create headers, or chart out space on your time-blocker. {Pro tip: start with rolls of solid colors with muted tones, and then choose one or two patterns that coordinate.}
3. Highlighters
Your favorite pastel highlighters can be used in many of the same ways washi tape can. Edge your planner pages, box out a quote or list, or create a colorful system of time-blocking. If your ink is smudging, try highlighting before writing.
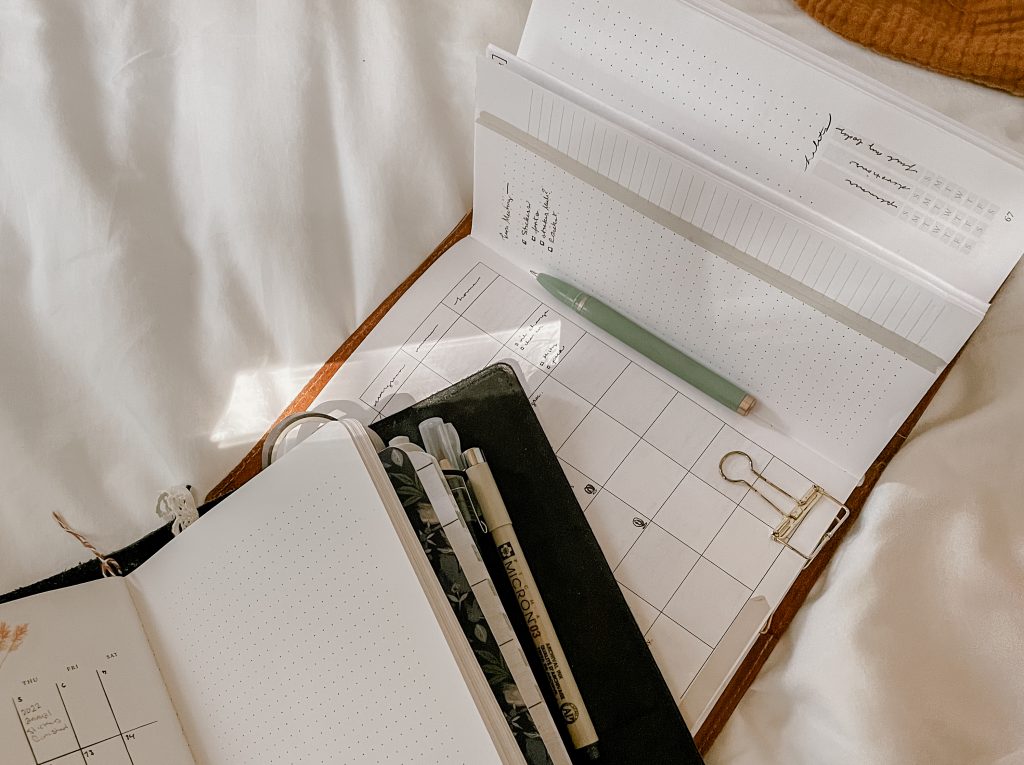
4. Boxes
Utilize boxes to create a visual representation of different categories of notes (errands, work tasks, grocery lists, etc). These boxes can be outlined with highlighters, washi tape, or a thick pen. Add an over-sized sticker in the corner of a box as a simple way to spice it up.
5. When you “mess up” your planner
A glue stick is great for those times you feel like you’ve “messed up your planner.” Simply grab a piece of paper (brown paper grocery bags work great) and layer it over whatever you want to cover. By tearing the edges of the paper, you can add a little texture to your spread. Now take a deep breath, and start again.

6. Paper, paper, paper
Grab a piece of scrapbook paper, graph paper, a paper grocery bag—really anything (no joke—we scour junk mail regularly for interesting colors or patterns)! Glued to your spread, you can create an interesting header or special background for an important list, adding a bit of layering fun at the same time.
7. Getting Fancy
Want to up-level your spreads? Use a label maker for quick headers or inspirational messages. If you have a printer at home, you can also print custom headers or list titles, especially for those lists you make over and over again.
Interested in our favorite planner accessories? Check out our accessory inspiration page here. And don’t forget to check out our Pinterest page full of beautiful spreads!
__________________________________________________
The Evergreen Planner system is comprised of three unique pieces: the Cover, the Annual and the Monthly. Here at Evergreen we believe in self-compassionate planning and want to inspire women to craft a lifestyle that both fuels their dreams and serves their daily rhythms. Learn more about our system here!

Leave a Reply